6. Easy sandwich bread

I was looking forward to this one. Mainly because a sandwich on homemade bread is very tasty. But also because it seemed very quick and easy when reading the recipe.

Ingredients of bread flour, whole wheat flour, yeast, warm water, honey and melted butter.

This was mixed in the stand mixer with the paddle attachment, no dough hook. It had a mixture of bread flour and whole wheat flour. There was also some honey added in with the water and melted butter. After mixing it until no dry flour remained, you had to let it sit for about 20 minutes. At this point, the dough was quite thick and sticky.
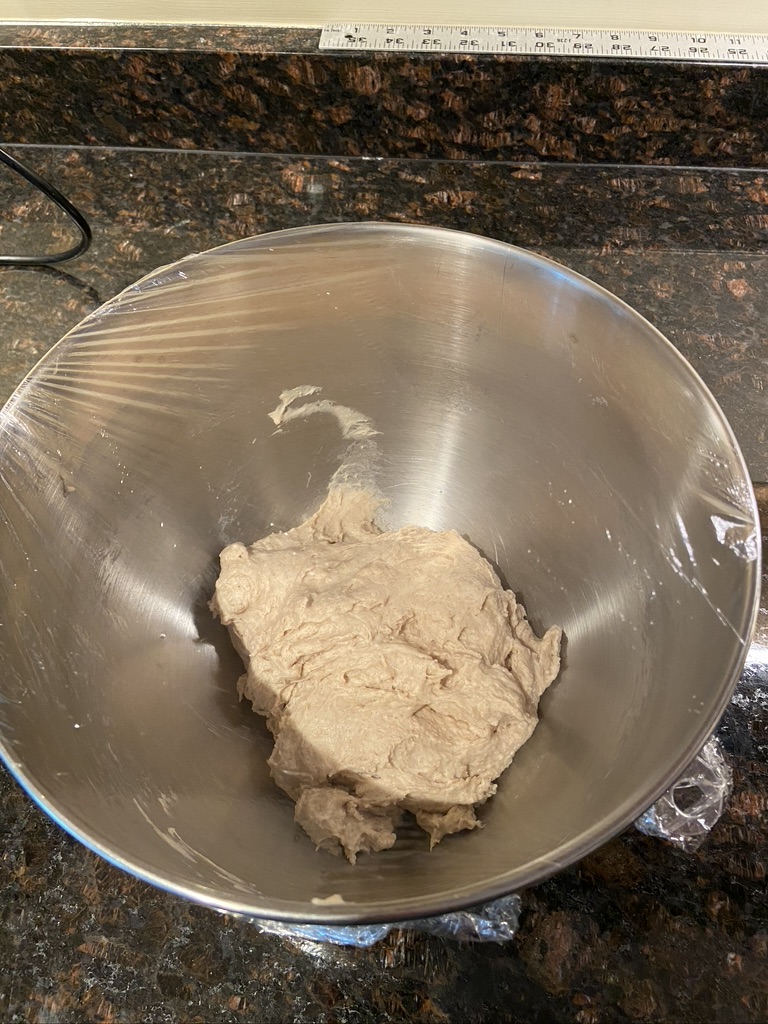
Let dough rest for 20 minutes

But adding the rest of the water and the salt that was dissolved in the water, the dough thinned out into more of a batter. Which was an interesting texture for a bread dough.

I used my Williams-Sonoma 8.5″ x 4.5″ loaf pan that I sprayed well with a non-stick cooking spray. You let it rise until the dough in the middle has just reached the edge of the pan and then brush with an egg wash mixture (I didn’t use all of the egg wash).

Risen dough, egg-washed.

This baked in a 375 degree oven for 45 minutes. I did place a small sheet pan just under the bread to catch anything if it splattered out.

Take out and let rest in the pan for 15 minutes. Turn out and brush with some melted butter for that nice shine.

Looks shiny!

This was super good and very easy. Sandwiches over the weekend were great with this bread. The crumb on this had an interesting texture. It was very moist and had lots of little holes. I would say more cake like than your typical sandwich bread. But it was still good, toasted a little bit and covered with your favorite sandwich toppings. This is something I’ll have to make again!

Next up, Fluffy dinner rolls!

5. Classic Italian bread

I have made this one before several times. It’s pretty simple and the very tasty. This one, like the no-knead bread, contains beer. They suggest a mild American lager like Budweiser. We don’t drink Budweiser but each time I’ve made this we have had Amstel Light. Seems to do the trick. This one requires the loaf to be shaped after it’s first rise.

To shape it you have to pat the dough into a 10″ square. Then fold the top 2 corners in toward the middle. Then fold the point towards the middle. Then finally you fold all the dough in half pressing the edges together.

Flip the dough over seam side down and sort of roll it back and forth until the loaf is about 15″. You transfer it diagonally onto a pizza peel that’s been lined with parchment paper. I sort of tucked it on the sides to get it into a nice shape and to make the surface of the dough tight.

Shaped loaf about 15″ long

Cover with greased plastic wrap and let it rise for about an hour. While it was rising, I preheated the oven to 450 with a pizza stone on the lower middle rack. They want you to preheat the stone for 1 hour.

After it has risen again, you slash down the middle, and mist it lightly with some water. My slashes might be getting better!

Slashed and misted

Bake for 30 minutes rotating the loaf half way through baking.

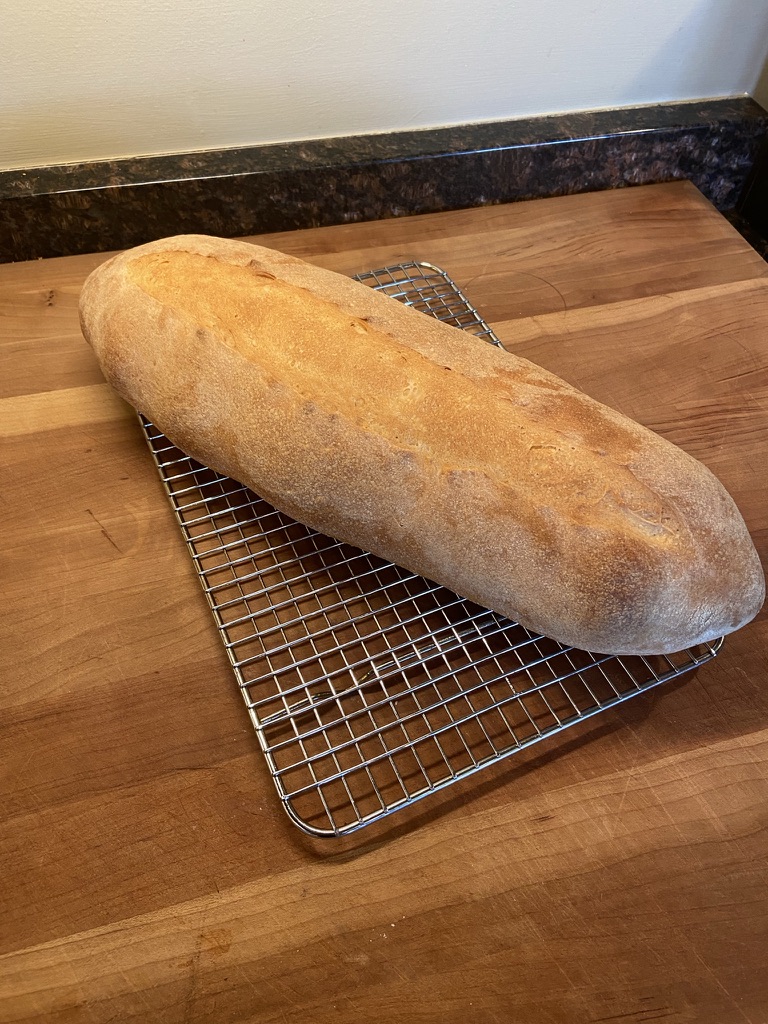
Finished!

This bread is really good. It’s no wonder I’ve made this one several times! I have noticed that the crust on this bread is quite light and not super crunchy. I’m not sure if it’s supposed to be like that but it’s still very good and easy to cut into.

Next up, Easy Sandwich Bread.

4. Almost no-knead bread

I made this bread a couple of times because I didn’t think the first time turned out all that great. I mean the bread looked good and tasted good but I thought I could do better. However, the second time somehow the bread deflated while in the oven. So my first attempt didn’t look bad compared to the second try.

This bread had a mixture of water, beer and white vinegar. Which gave the bread a bit of a tang. When first mixing the ingredients together, you just do it in a bowl with a spatula. However, you had to let it sit at room temp for at least 8 hours up to 18 hours.

Mix the ingredients until it forms a dough.
This is after about 12 hours of sitting out at room temperature.

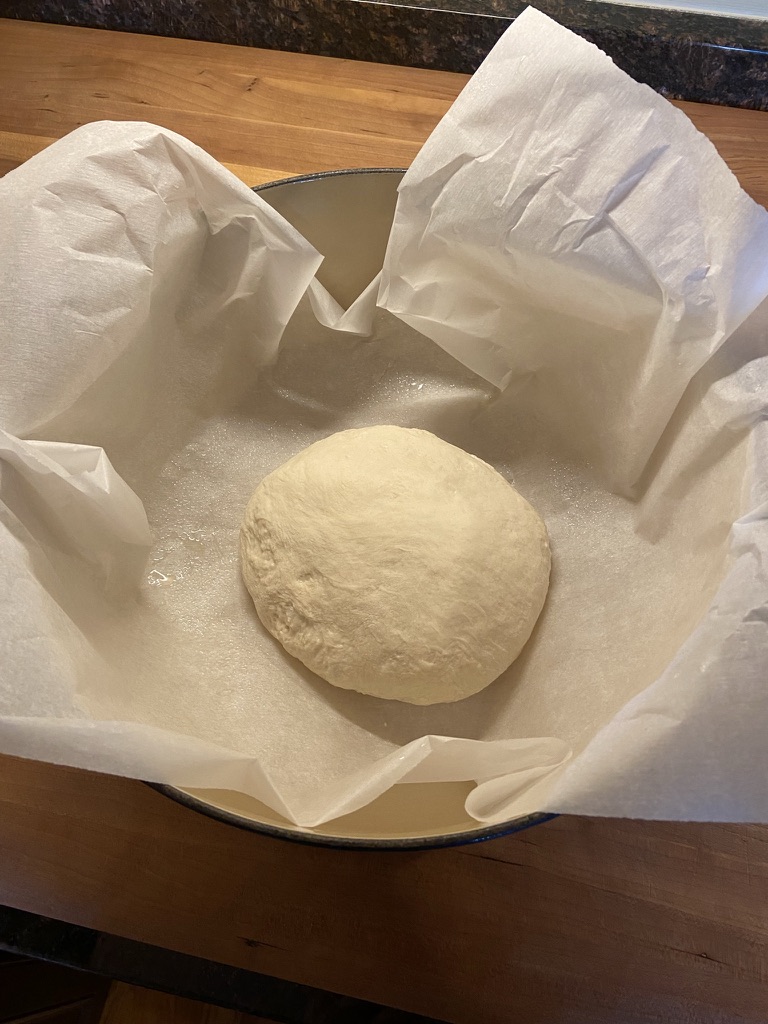
After letting it sit out overnight, you had to knead it for 1 minute and then shape it into a ball by pulling the corners of the dough into the middle and bunching them together like a coin purse. Then flipping it over onto some parchment paper. Then you transfer the parchment with the dough into a dutch oven. I guess when the bread is cooked in the dutch oven the steam trapped in the pot helps crisp up the crust.

Shaped dough in dutch oven

You had to let it rise again covered for about 1.5 hours. Once risen, you had to slash the top and place in the oven. Now, I’ve determined that I really stink at slashing bread. I’m hoping I get better!

Second rise with slashes

The weird thing about this, or at least to me, was that you started this bread in a cold oven. You place the covered pot in a cold oven, set it to 425, and let it cook covered for about 30 minutes. Then uncovered for another 25 minutes or so until it’s nice and golden brown.

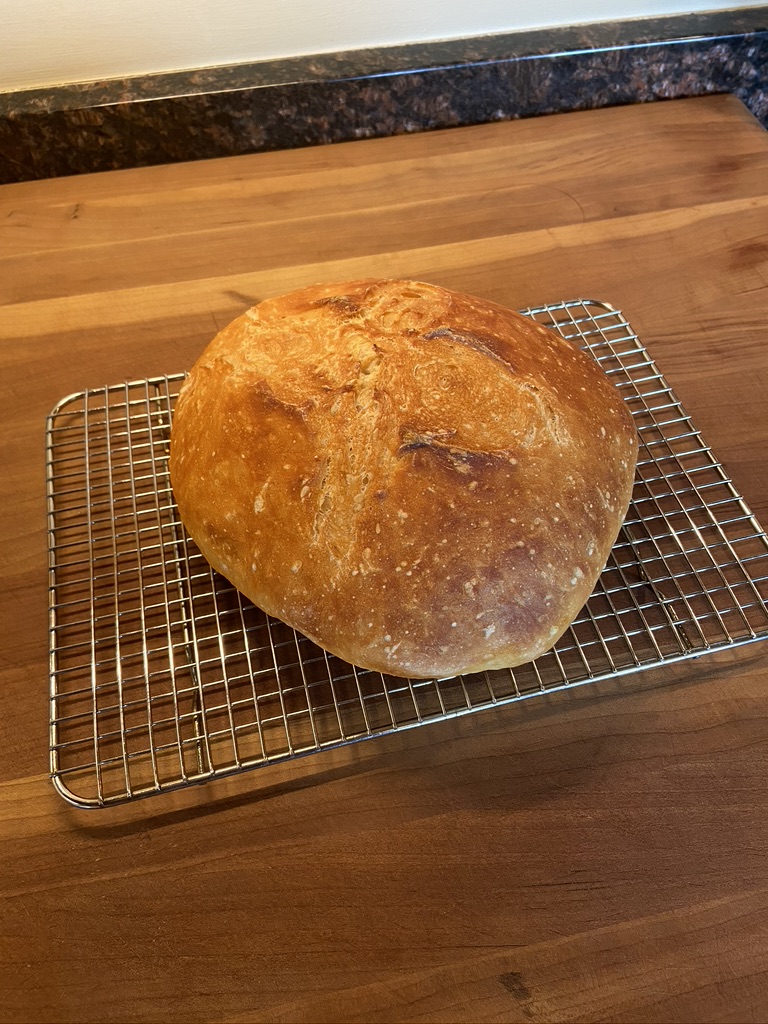
Golden brown

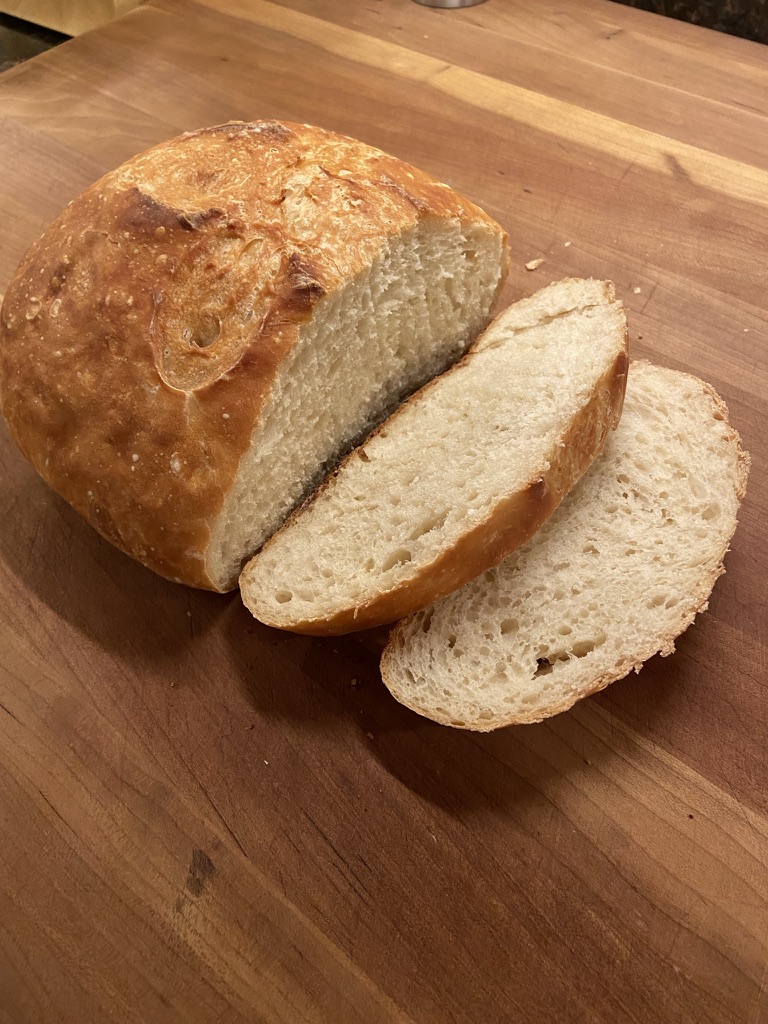
I think for the most part this bread turned out pretty good. I’m not sure why I wasn’t satisfied with my first attempt after looking at these pictures again. Other than you having to wait at least 8 hours before the dough was ready to be shaped I think this bread is pretty easy to bake. The tang from the beer and the vinegar gave this bread a distinctive taste and we really enjoyed eating it.

Not too bad!

Next up, Classic Italian bread.

3. Brown Soda Bread

Next is Brown Soda Bread. Like I said in a previous post, they start you off pretty simple at first. None of these first few breads contain any yeast or require any rising time. That is also true for this soda bread.

Ingredients: all-purpose flour, wheat flour, buttermilk, sugar, baking soda and powder, salt and toasted wheat germ

This bread contains a mixture of regular flour and wheat flour. There is also toasted wheat germ in there. However, I couldn’t find toasted wheat germ (or plain wheat germ) at my store so I ordered some online. Other ingredients include buttermilk, sugar, baking soda and powder, salt and melted butter (not pictured).

You do mix this by hand until a shaggy dough forms. Then turn out on a floured surface. It took the dough a bit to come all together but it eventually did.

And then you just press it into a 7″ round disc and score the top in a cross pattern. I used a lame to score the top but a sharp paring knife would also work.

You bake at 400 degrees. The book says it takes about 45 – 50 minutes rotating half way through. But I started to smell it possibly burning after about 40 minutes. So I checked it with a skewer and it was done. Then you brush the top with melted butter.

You do have to wait awhile before you can slice into it. It turned out really good. It had a little bit of a sweet wheat-y taste. The crust had a little bit of a crunch to it. The inside was a bit dense but still pretty good. I even tried it with some butter and raspberry jelly on it. Pretty tasty.

Next up: Almost no-knead bread.

2. Southern-style Skillet Cornbread

As the name implies, this is a cornbread cooked in a cast iron pan. I love anything cooked in a cast iron pan, especially cornbread. So I was excited to make this one.

The recipe calls for stone-ground cornmeal. Well, either my local grocery store doesn’t have stone-ground cornmeal or it was hiding somewhere not obvious to me. In the notes on the recipe it says any type of fine or medium ground cornmeal would also work. So I went with the basic Quaker brand yellow corn meal. You toast the cornmeal for a few minutes until it is fragrant which was different. You also preheat your pan in the oven with the vegetable oil which seems to be a common thing with skillet cornbread. The rest of the recipe is what you’d expect. It did have a bit of sour cream in it and not much sugar. So it isn’t super sweet. Here is the finished cornbread.

Southern-style Skillet Cornbread

It not only looked great but tasted great, too. Using regular old cornmeal didn’t seem to affect the taste in anyway. A nice slather of butter on top and it was delicious.

1. Quick Cheese Bread

These first couple of breads I didn’t take many pictures while baking them. Actually, I only took one picture of the finished bread. I didn’t decide to document this challenge until after my second bread.

The quick cheese bread was really good. It was just a mix placed in a loaf pan. So no yeast or anything. It had grated parmesan sprinkled on the bottom of the pan and then again on the top of the bread mix. And small pieces of sharp cheddar cheese were inside the bread mix. The parmesan added a nice salty bit to the bread and the cheddar cheese created cheese pockets throughout the loaf.

The bread only took about 2 hours to mix and bake. So it would be something easily done during the week. While the recipe didn’t say to bake this on a sheet pan, I ended up have to do that since it was leaking either cooking spray or butter on the bottom of my oven. This is something I’ll have to remember the next time I bake this.

Quick Cheese Bread

Served warm with a little smear of butter and it was tasty.